Self-Tape Auditions Explained for Beginners
Self-tape auditions have become a standard part of the casting process. Learn how they work, what casting directors expect, and how to prepare your first self-tape with confidence.
Self-tape auditions have become one of the most common ways actors audition for roles.
Instead of traveling to a casting office, you'll often be asked to record your audition at home and submit it online.
For many beginners, this format can feel unfamiliar.
You may wonder what equipment you need, how professional your setup should be, or what casting directors expect to see.
The good news is that creating a strong self-tape doesn't require an expensive studio.
With a little preparation and attention to detail, you can record auditions that present you professionally and allow your performance to shine.
In this guide, you'll learn how self-tape auditions work, why they're so common, and how to prepare your first self-tape with confidence.
What Is a Self-Tape Audition?
A self-tape audition is a recorded video performance that actors submit electronically instead of auditioning in person.
Casting directors review these recordings to determine whether an actor is a good fit for the role.
Depending on the project, you may receive:
- A short scene (called sides).
- Instructions for your slate.
- Camera framing requirements.
- Submission deadlines.
- Technical specifications for the video file.
Following these instructions carefully is an important part of the audition process.
Why Are Self-Tape Auditions So Common?
Self-tapes have become popular because they offer flexibility for both actors and casting teams.
They allow actors to audition from almost anywhere while giving casting directors the opportunity to review performances on their own schedule.
Self-tapes also make it easier for productions to consider talent from different cities or regions.
For many projects, submitting a self-tape is now the standard first step in the casting process.
You Don't Need Expensive Equipment
One of the biggest misconceptions is that professional self-tapes require expensive cameras and studio lighting.
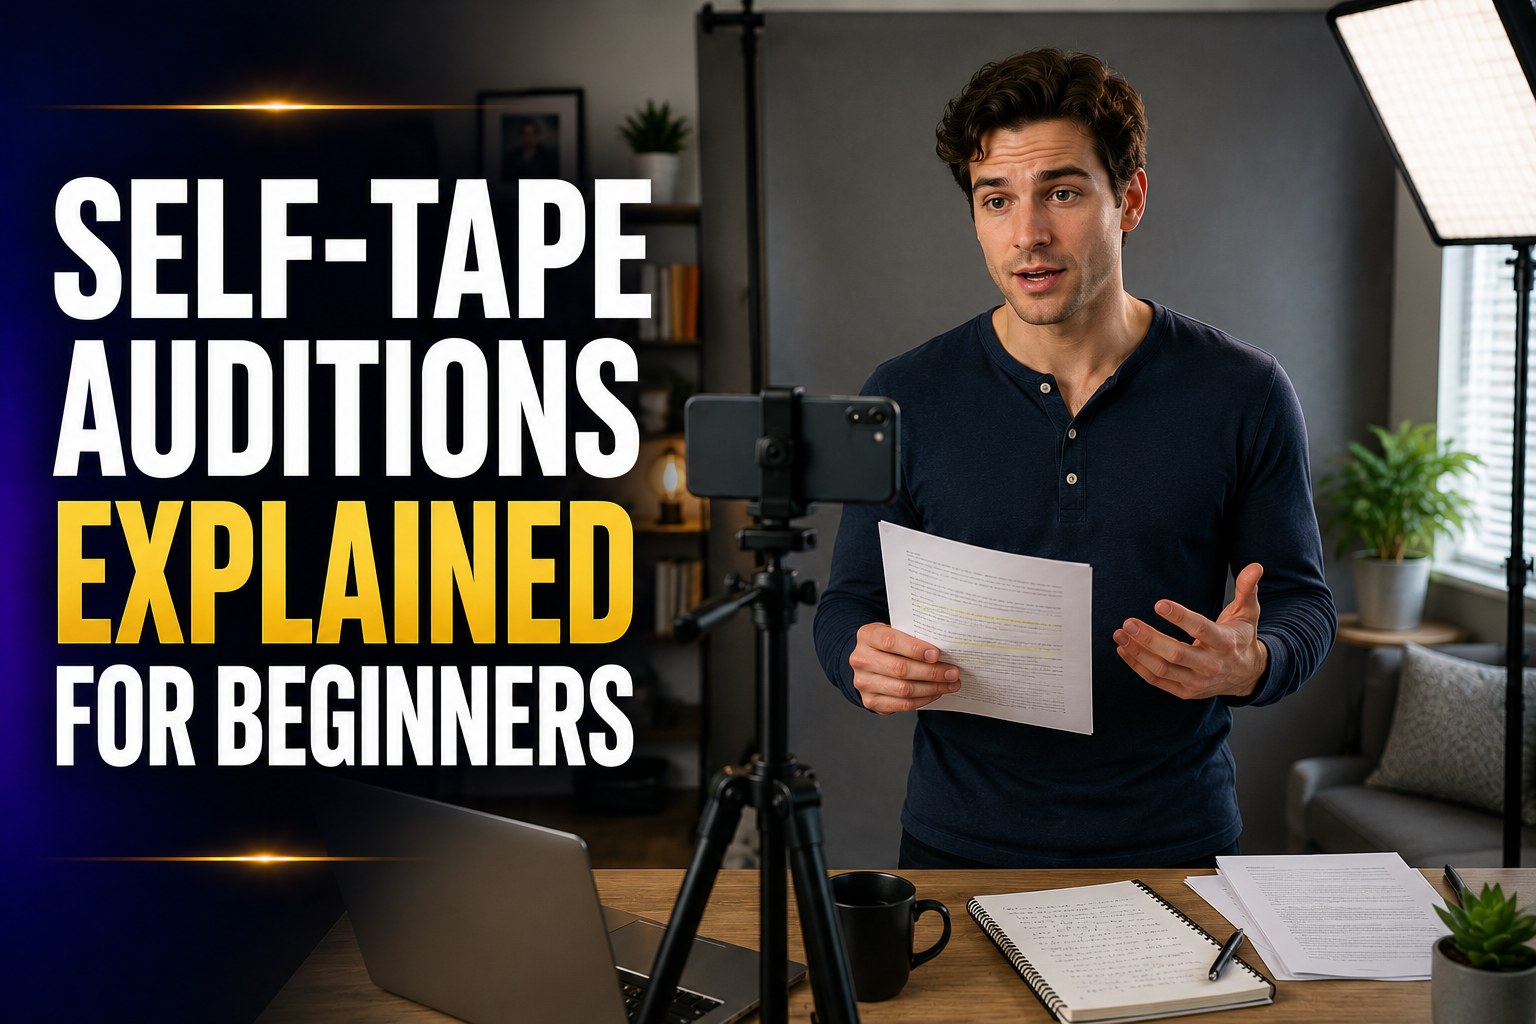
Most beginners can create excellent self-tapes using:
- A modern smartphone.
- A tripod.
- A neutral background.
- Good lighting.
- Clear audio.
Casting directors are primarily interested in your performance.
A simple, clean setup is often more effective than an elaborate one.
Choose a Simple Background
Your background should help keep the focus on you.
A plain wall, neutral backdrop, or uncluttered room usually works well.
Avoid backgrounds with:
- Bright decorations.
- Busy patterns.
- Strong distractions.
- Excessive movement.
The goal is to create a professional-looking video where your performance remains the center of attention.
Use Good Lighting
Lighting helps casting directors clearly see your facial expressions.
Natural daylight from a window often works well.
If natural light isn't available, use soft lighting positioned in front of you rather than behind you.
Avoid harsh shadows or overly dark recordings whenever possible.
Position Your Camera at Eye Level
Camera placement can make a big difference in how your self-tape looks.
Position your camera so the lens is approximately at eye level.
This creates a natural perspective and helps casting directors connect with your performance.
Avoid filming from:
- A low angle looking upward.
- A high angle looking downward.
- An unstable handheld position.
A tripod or stable surface will help keep your shot steady.
Wear Simple, Appropriate Clothing
Your wardrobe should support your audition, not distract from it.
Choose clothing that:
- Fits well.
- Uses solid, neutral colors.
- Matches the tone of the character.
- Keeps the attention on your performance.
Avoid:
- Large logos.
- Busy patterns.
- Reflective jewelry.
- Clothing that blends into your background.
The goal is to present yourself naturally while allowing the character to take center stage.
Follow the Submission Instructions Carefully
Every casting notice is different.
Before recording your self-tape, read all instructions carefully.
Pay close attention to:
- File format.
- Video orientation.
- Slate requirements.
- Submission deadline.
- Naming conventions for your video file.
Following directions shows professionalism and helps the casting team review your audition efficiently.
Record More Than One Take
You don't need to settle for the first recording.
Try performing the scene several times.
This allows you to:
- Relax into the performance.
- Explore different choices.
- Correct small mistakes.
- Choose the strongest version before submitting.
Avoid recording dozens of takes.
After a certain point, performances can begin to feel overly rehearsed.
Common Self-Tape Mistakes
Even experienced actors occasionally make mistakes when recording auditions.
Here are a few to watch for.
Ignoring the Instructions
Every production has its own requirements.
Submitting the wrong file format, forgetting your slate, or recording the incorrect framing can hurt an otherwise strong audition.
Always review the instructions one final time before uploading your video.
Focusing Too Much on Equipment
A professional camera isn't what books the role.
Casting directors are primarily evaluating your performance.
A simple, well-lit recording with clear audio is usually more effective than expensive equipment paired with a weak performance.
Recording in a Noisy Environment
Background noise can make it difficult for casting directors to hear your performance.
Choose a quiet location whenever possible.
Turn off televisions, fans, music, and phone notifications before recording.
Rushing the Submission
Give yourself enough time to:
- Review your recording.
- Check the audio and lighting.
- Rename the file correctly.
- Upload before the deadline.
Submitting early helps avoid unnecessary stress and technical problems.
Frequently Asked Questions
Do I need professional camera equipment?
No.
Most beginners can create excellent self-tapes using a smartphone, a tripod, good lighting, and a quiet space.
Should I memorize my lines?
Whenever possible, yes.
Being familiar with your lines allows you to focus on listening, reacting, and creating a natural performance.
If holding the script is permitted, follow the instructions provided in the casting notice.
Can I edit my self-tape?
Basic trimming at the beginning or end is generally acceptable.
Avoid adding music, visual effects, filters, or creative edits unless specifically requested.
Casting directors want to see your authentic performance.
How many takes should I record?
Many actors record two or three complete takes before selecting the strongest one.
Choose the performance that feels the most truthful rather than the most technically perfect.
Your Next Steps
Self-tape auditions are now a regular part of the casting process.
Learning how to create a clean, professional recording will help you feel more confident and prepared for future opportunities.
As you continue practicing:
- Read the casting instructions carefully.
- Keep your setup simple.
- Prioritize your performance.
- Review your recordings before submitting.
- Continue improving with each audition.
Every self-tape is another opportunity to strengthen your skills and gain valuable experience.